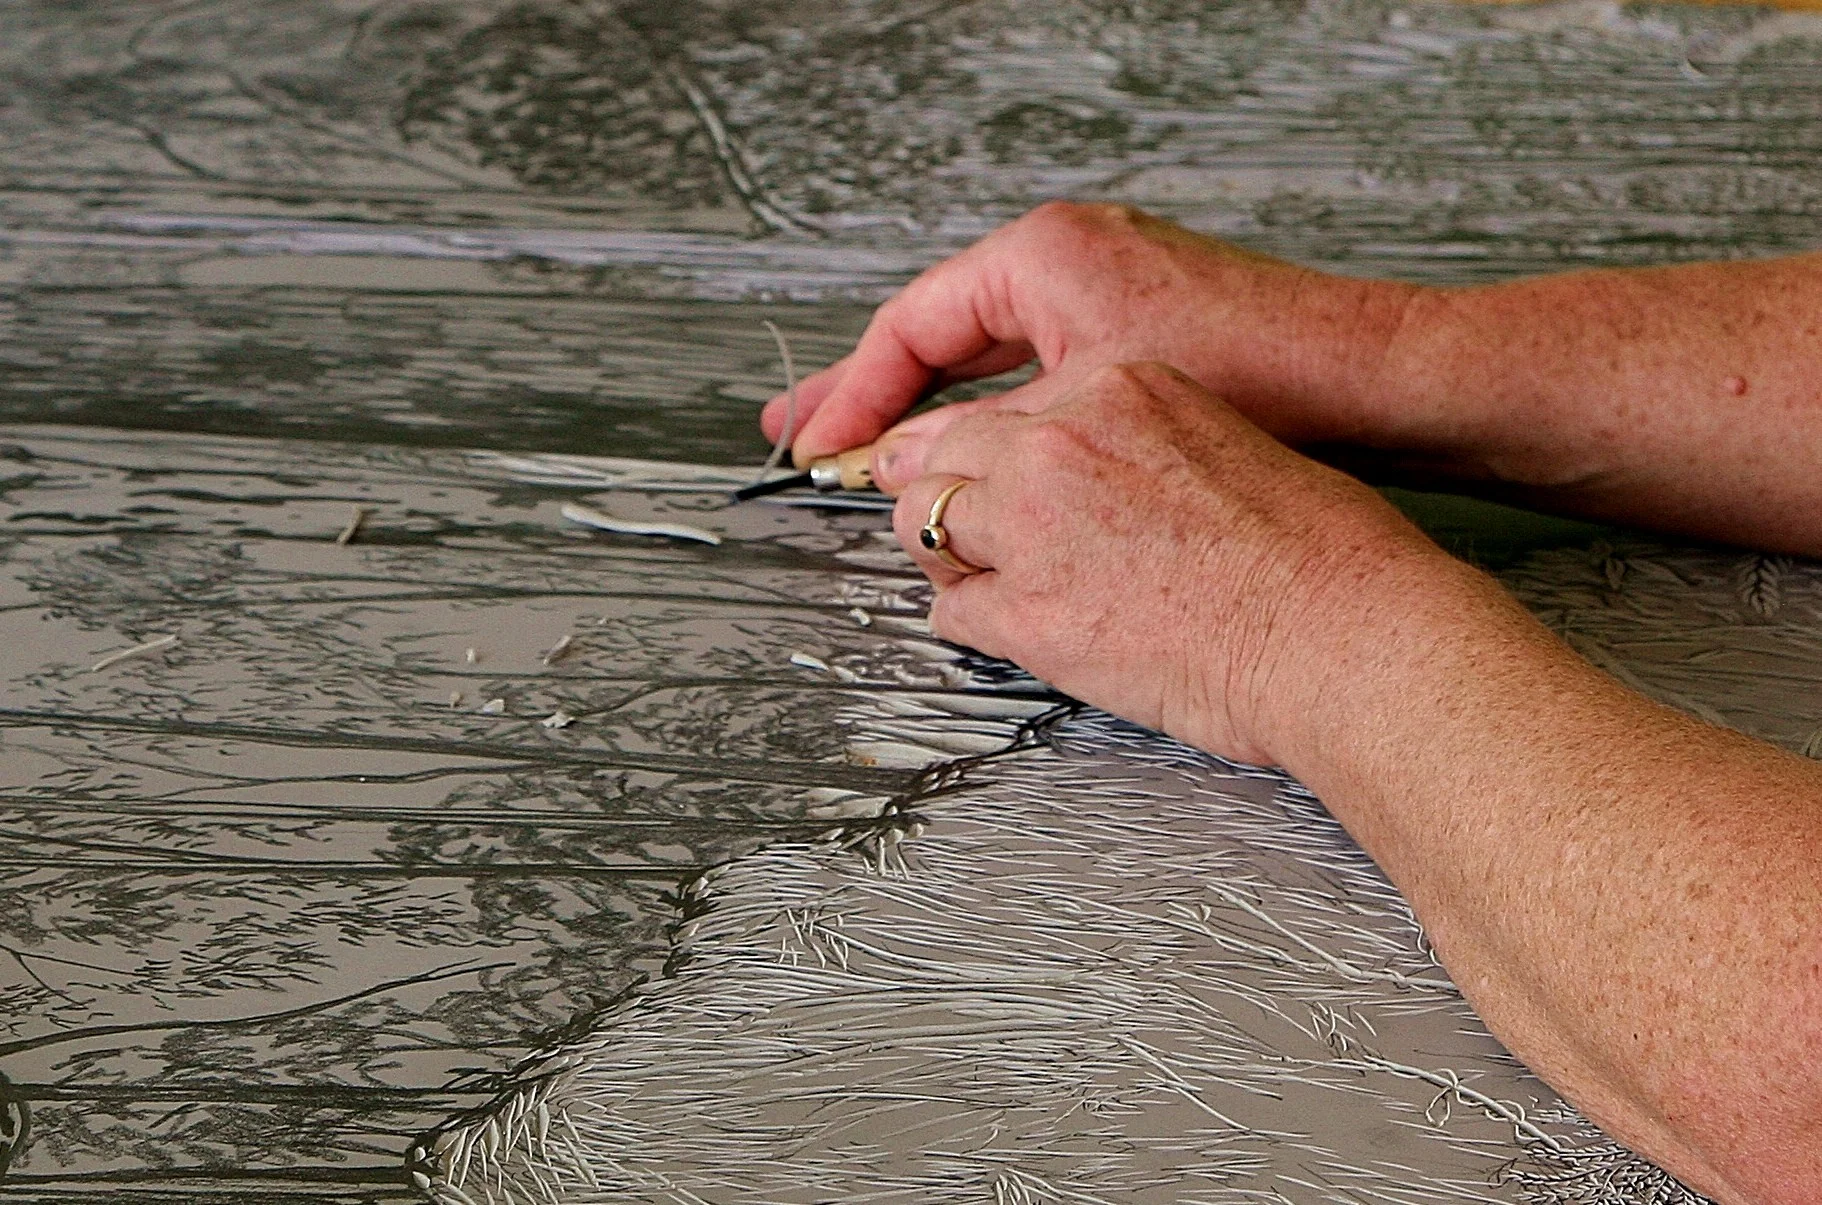
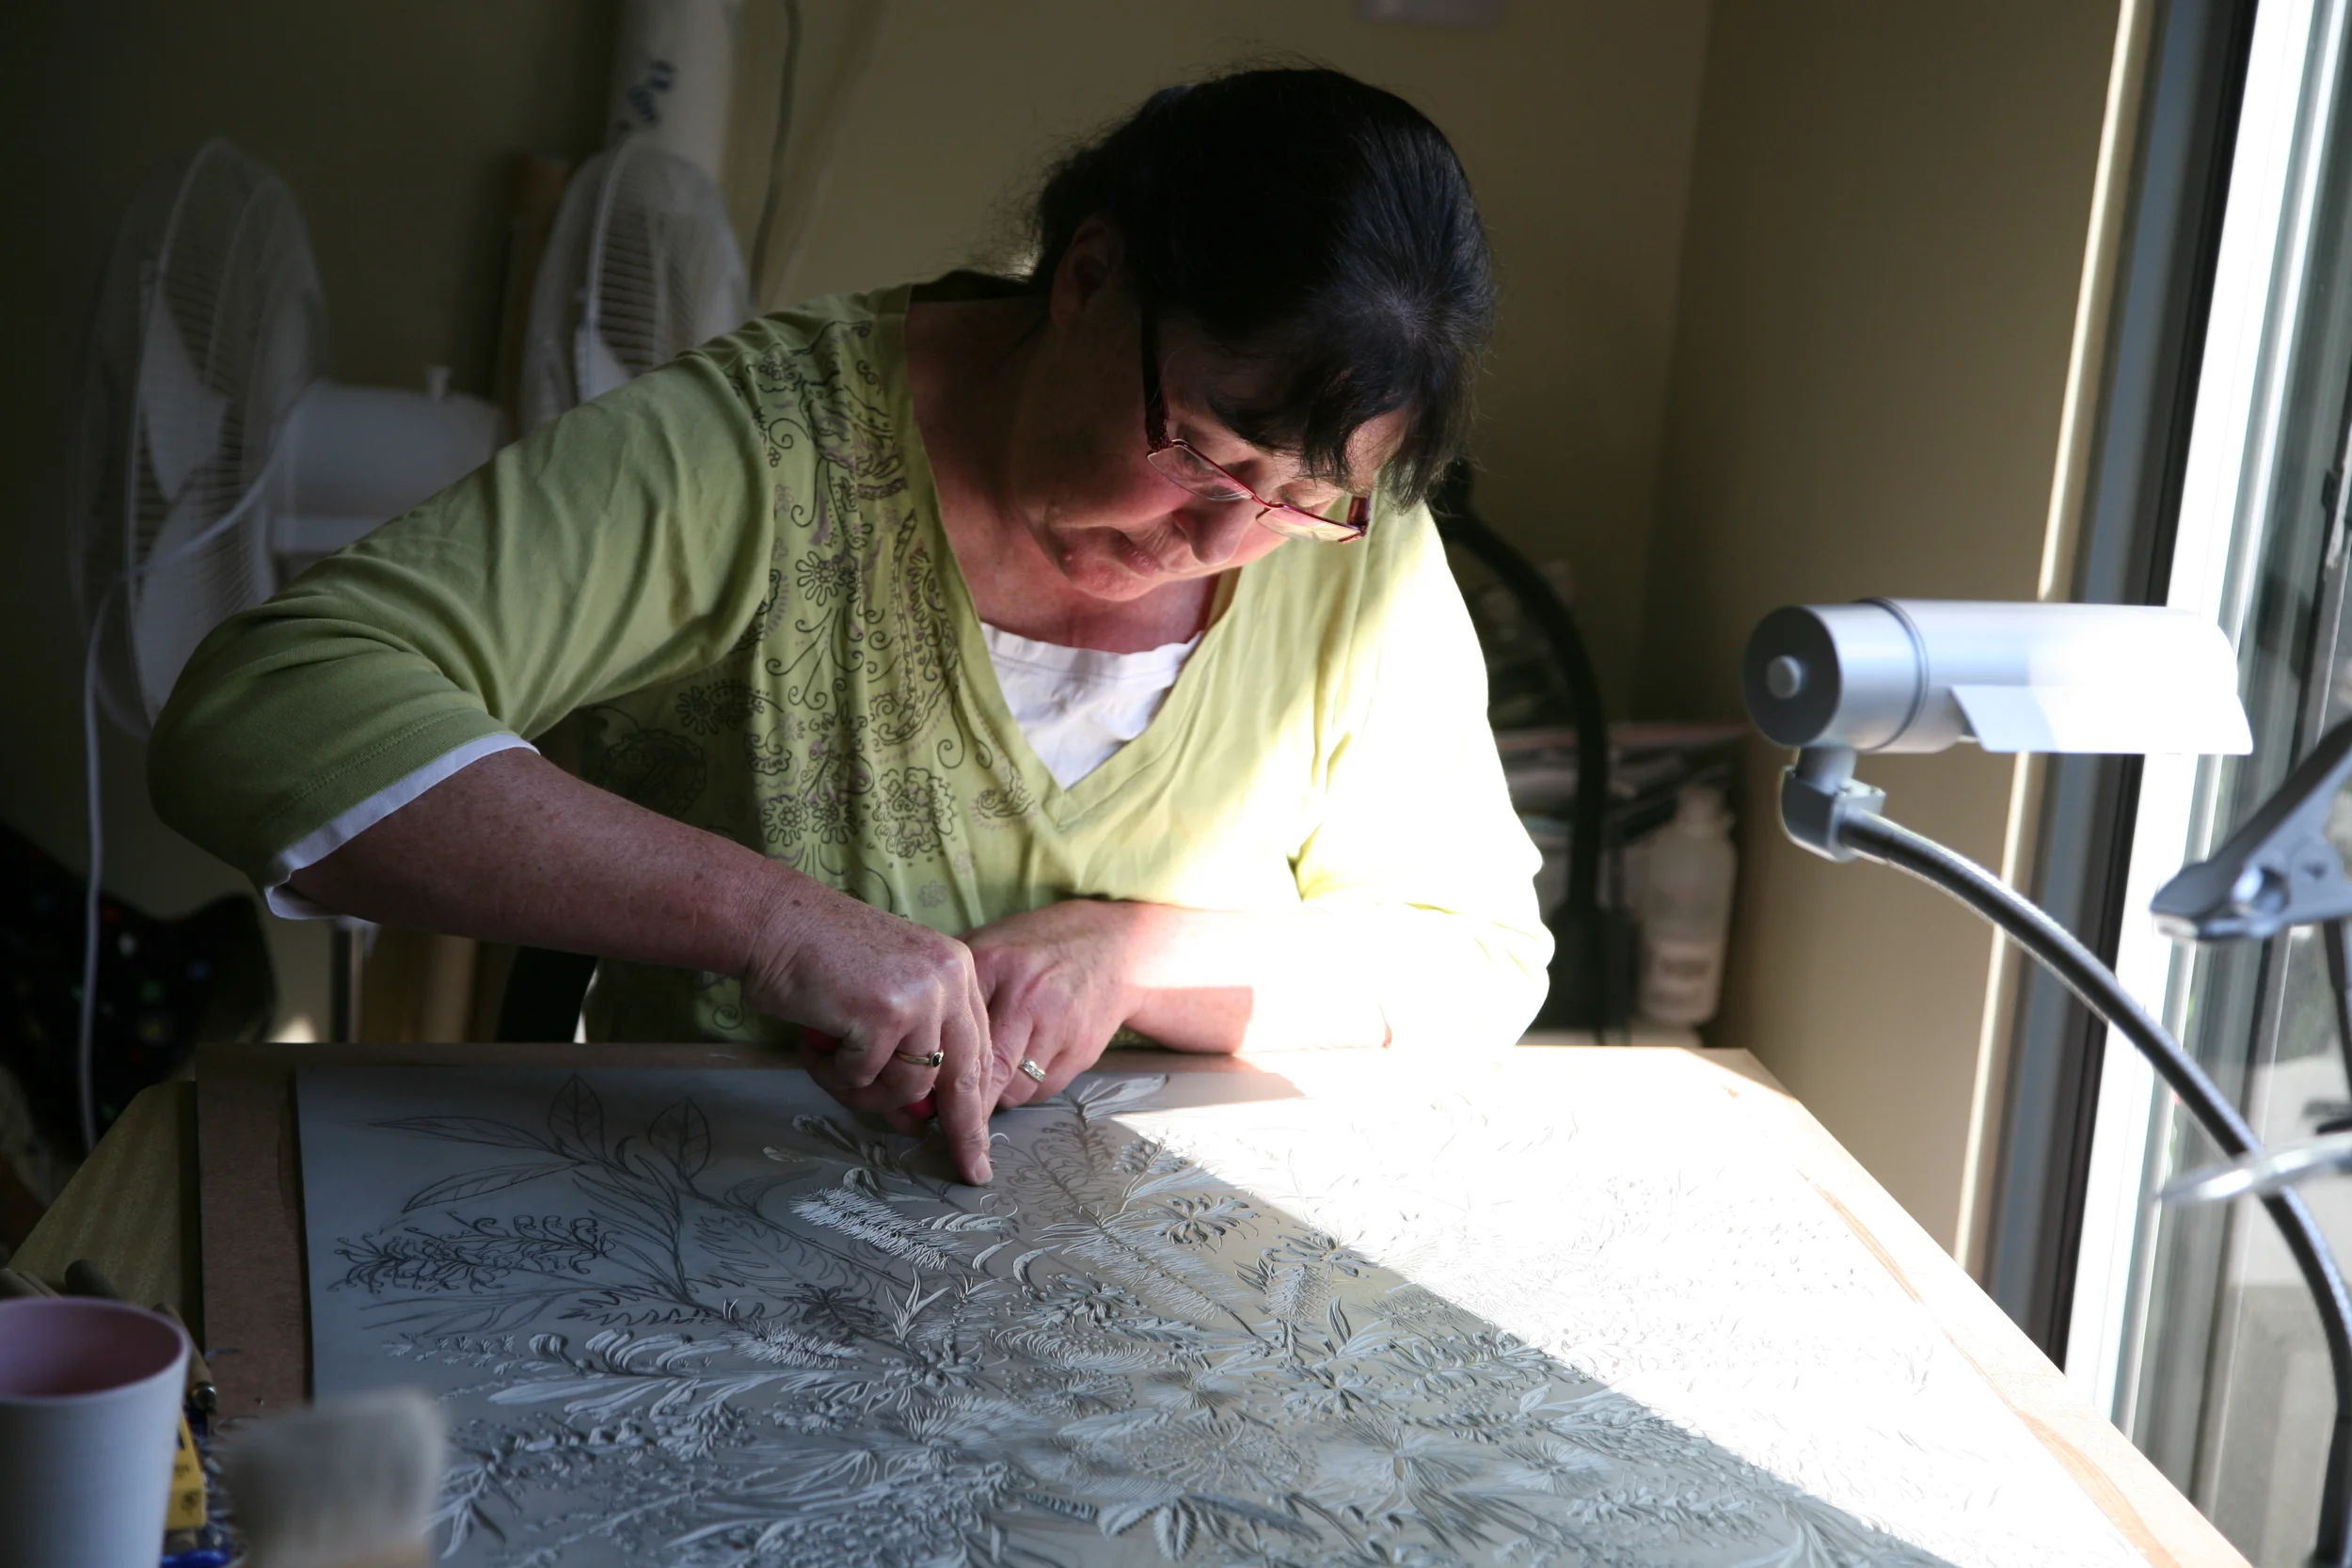
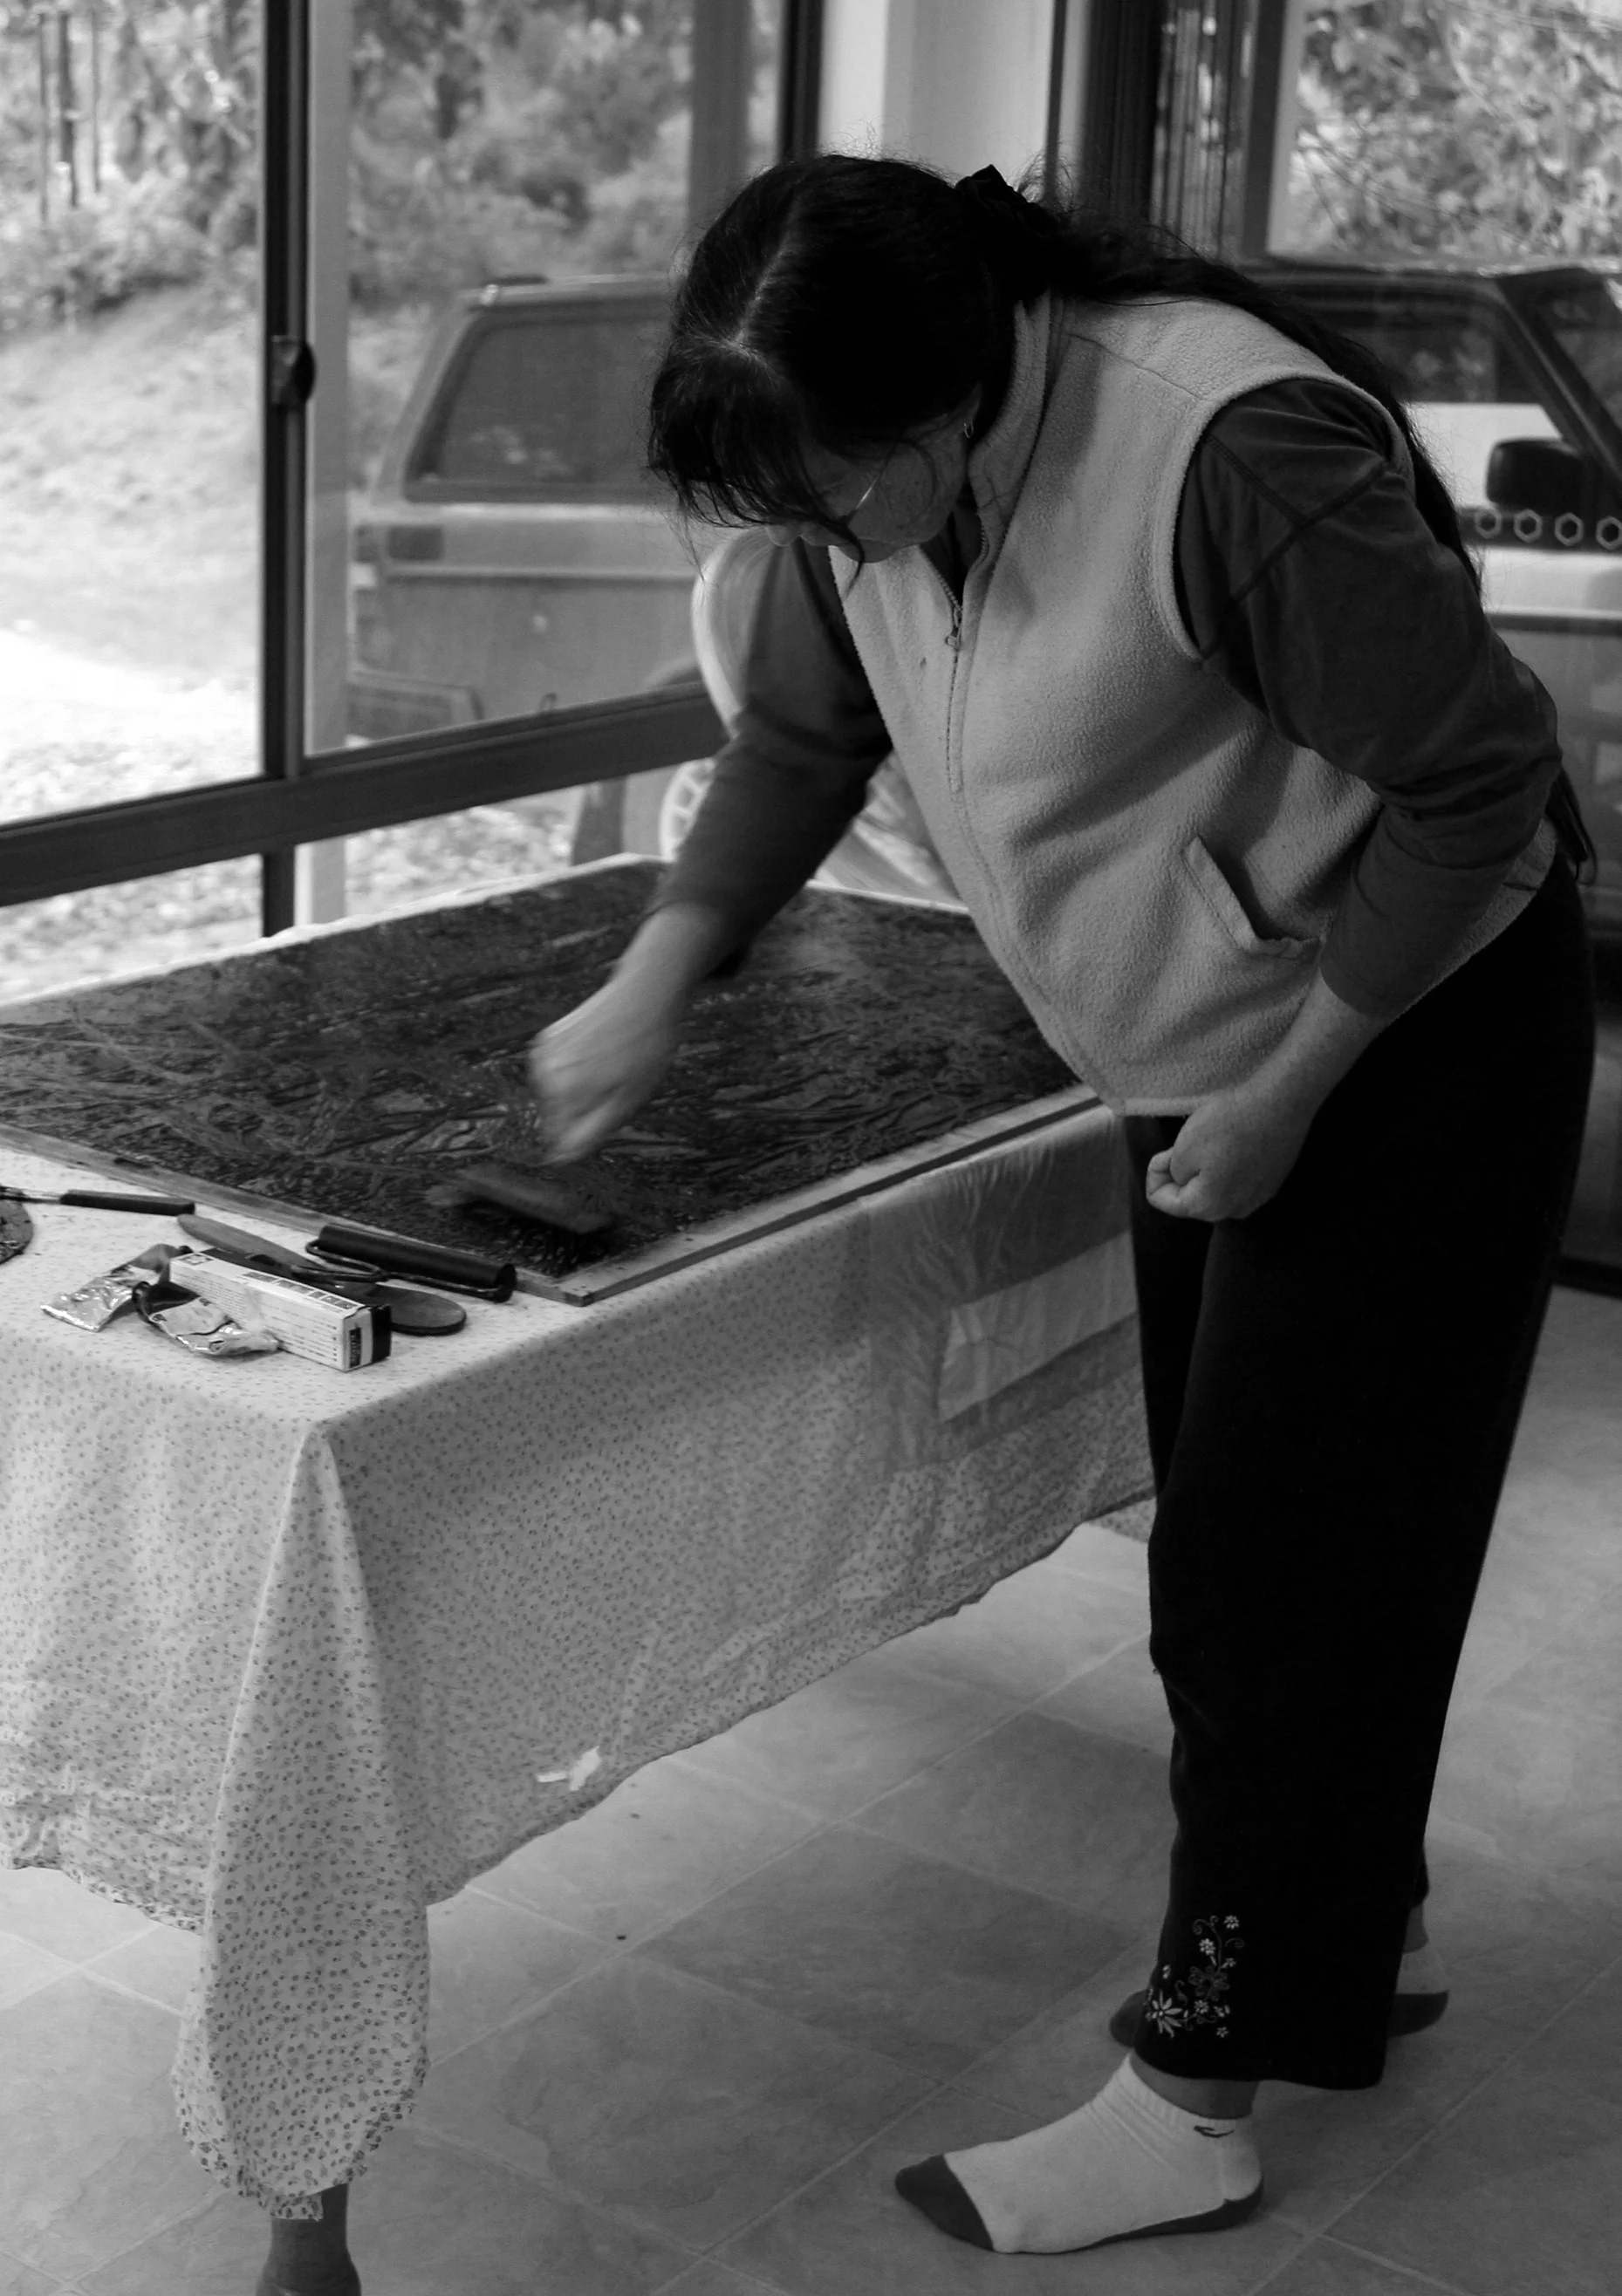
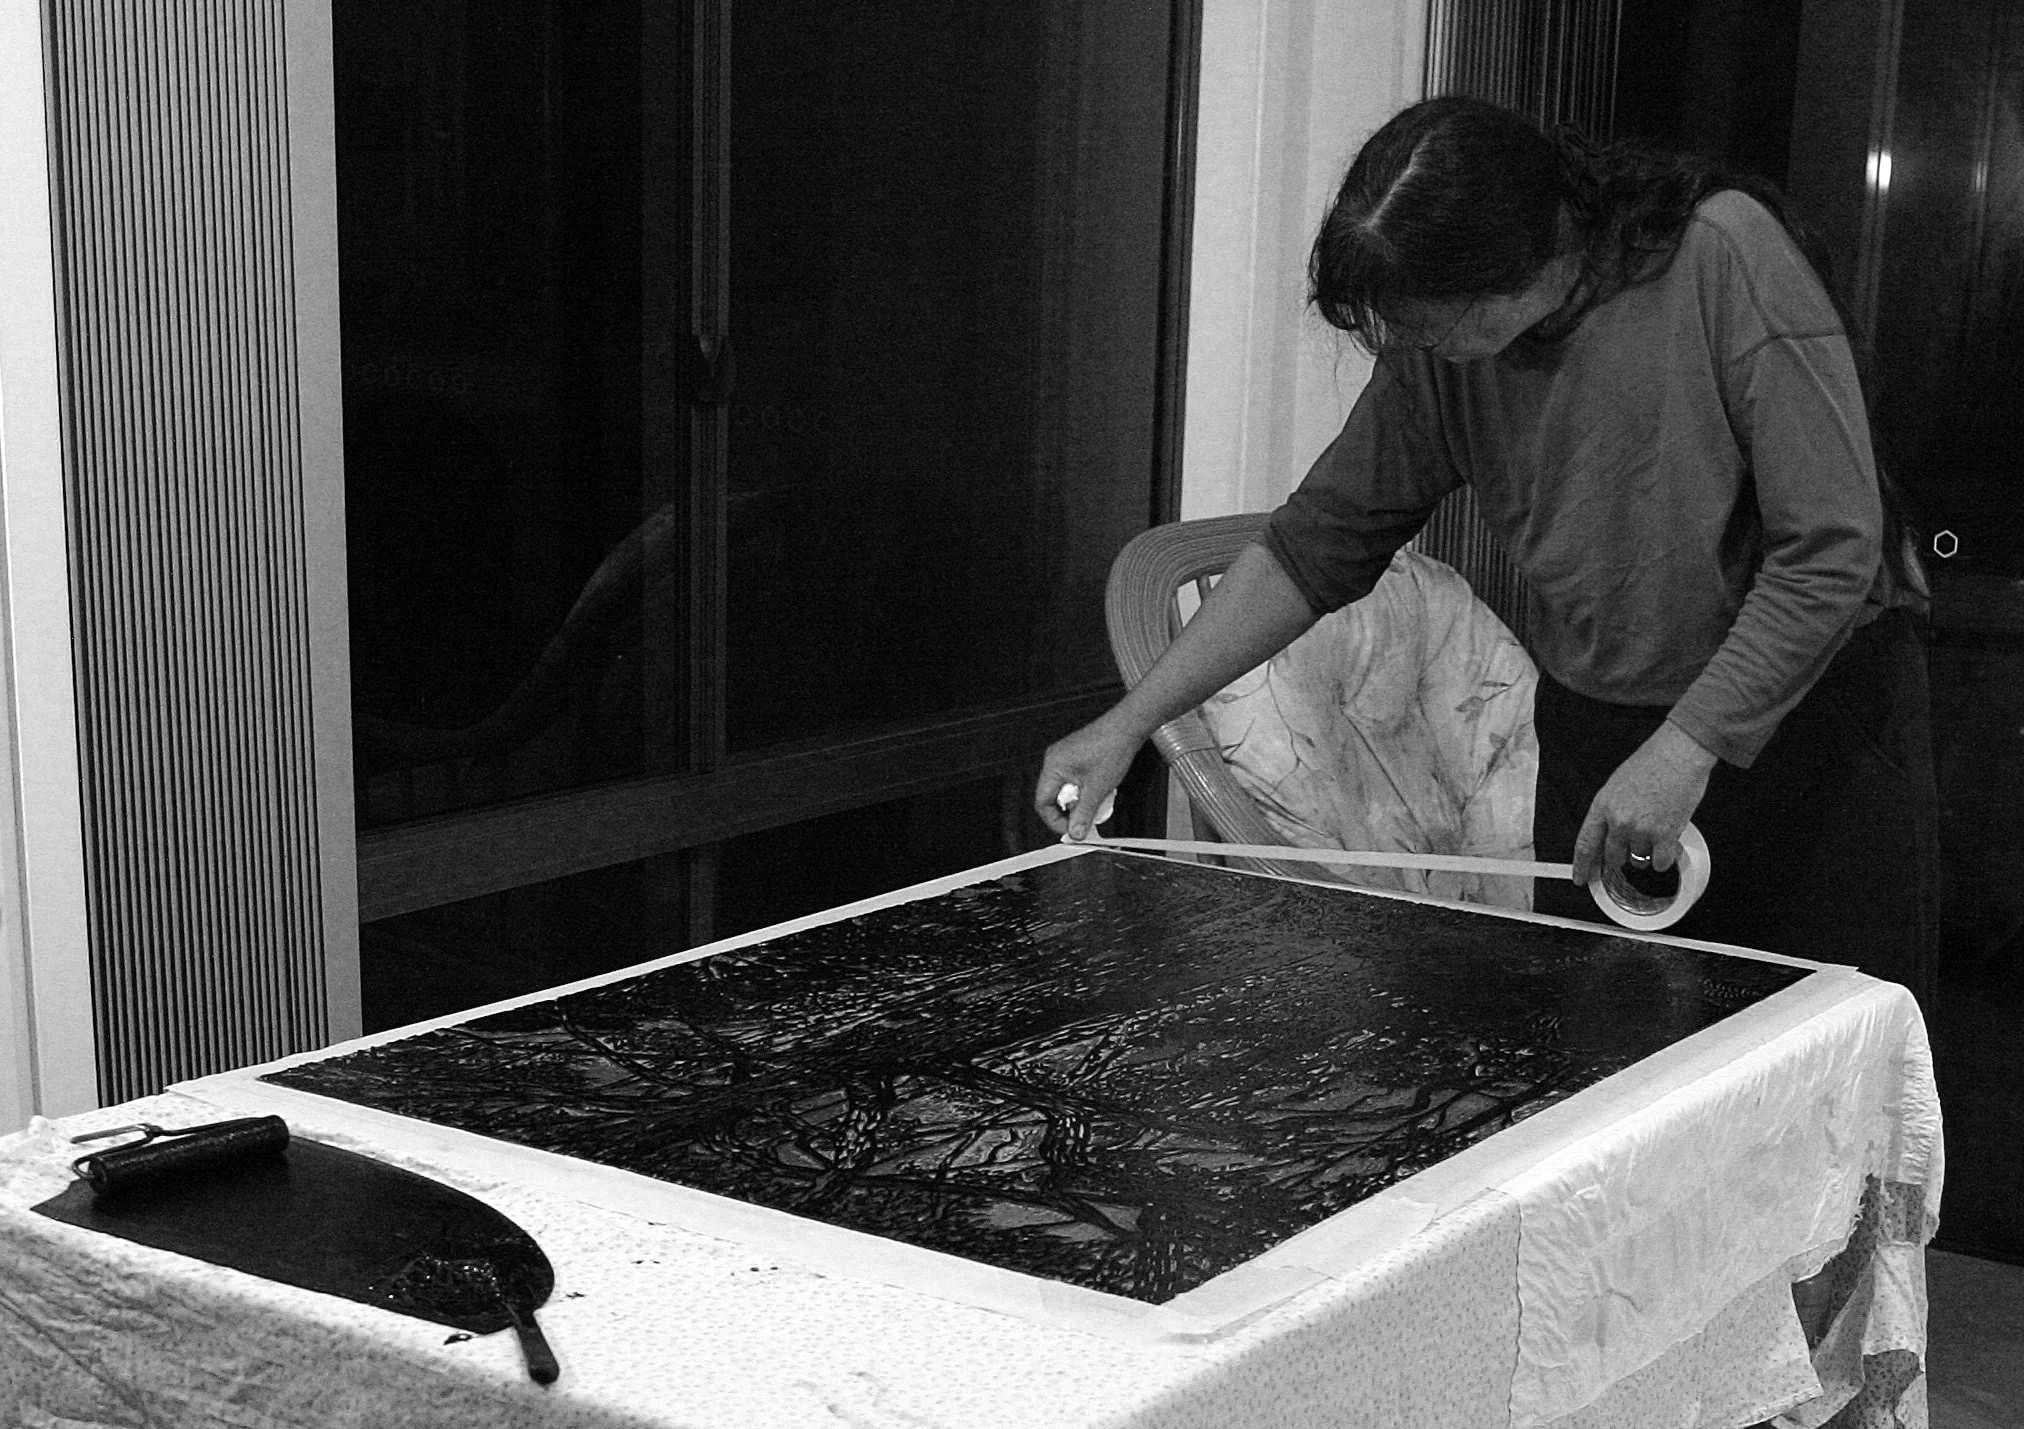
This series of photographs, documents the process of lino printing.
To begin, I start with a flat piece of lino. If I want the image to be much larger than approximately 60cm in either width or length, it is best to glue it to a solid piece of Masonite or other board to enable movements without cracking or breaking the lino.
Then, I draw my chosen image directly onto the lino with lead pencil. I either work from a photograph of a scene (usually with trees) or, I pick a bunch of flowers from our garden and arrange them in a vase to draw them.
Once I have the drawing complete, I begin cutting away the lino with sharp tools. Whatever I cut away will be white when I print.
After cutting, it is ready to print. Black ink is rolled over the surface of the lino, paper is placed over the ink and the whole thing is either rolled in a press, or I rub the back of the paper firmly with a wooden spoon.
The paper is carefully lifted off the lino block to reveal the print.
If I intend to add colour to the print, I have to wait a number of days for the black ink to dry. Then, using Winsor and Newton quality watercolour paints, I paint in between the black lines while referring to the actual colours in the flowers in the work. Many times, I return to the garden to get fresh flowers to work from so the colours are realistic.